September 2nd, 2008
Homemade Sauerkraut

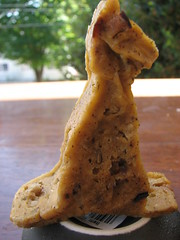
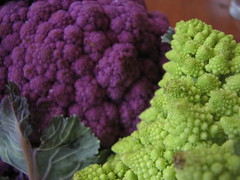
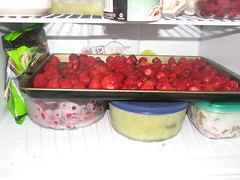
Nature’s art
I don’t eat a lot of cabbage, which may shame my Polish ancestors. Maybe it was because my mother grew up with so much cabbage that she didn’t force it on me or that I only had it at Grandma’s house on holidays. Regardless, it has not become a comfort food for me. My Polish comfort foods are pickles and pierogies. Now I can add sauerkraut to that list.
Making sauerkraut is easy and not very time consuming. It’s origins lie in China as a staple for the people who built the Great Wall. I first made it in culinary school when other people were curing meats and experimenting with innards. My free time was spent veganizing French classics and fermenting whatever I could. I was shocked at how easy it was; it practically made itself. I made a huge batch at school and fretted over what to do with it. I prefer it as a sandwich condiment but the Polish traditionally stew it up with kielbasa for a warm wintry meal. Since it’s summer, it’s been adorning all the sausages I have been making.

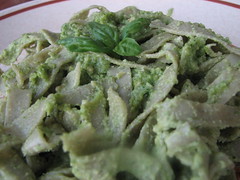
Red cabbage turns pink!
Homemade kraut is different than the store bought stuff because it is alive. It still has plenty of crunch and tang to it. I think the canned stuff is crap and belongs in a time capsule with canned asparagus. Making it at home is cheap and since it’s fresh and raw, it’s very beneficial. It is filled with good-for-you bacteria that add to the bio-diversity of your intestinal flora. Like a field of wildflowers in your belly instead of a field of one type of flower, your digestion and immune system are stronger for it. If that makes any sense. It’s like eating yogurt for the probiotics it contains. A detailed report on benefits of kraut can be found here. I base my recipe off of Sandor’s, who is a fermentation master and improved his health dramatically by adding fermented foods to his diet. He has an amazing book that I can’t wait to buy. It’s next on my list. He recommends 5 pounds of cabbage to 3 Tablespoons of salt.
Did you know there was a long term study on Polish women who immigrated to the US? The ones who Americanized their diets and stopped eating sauerkraut had a much higher rate of breast cancer than the Polish women who maintained their diet of lacto-fermented foods. So, we’ve got kraut fighting cancer, reducing junk food cravings, morning sickness and providing us with plenty of Vitamin C and stronger immune systems. Let’s make some!
Sauerkraut Yields about 2 packed cups of kraut
Ingredients
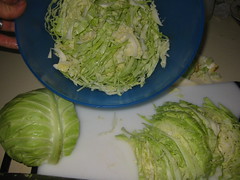
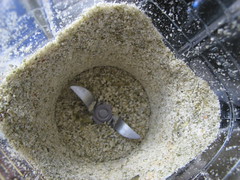
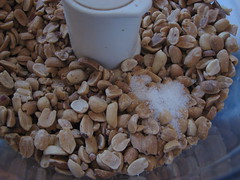
Core, chiffonade & salt
- 1.5 pounds of cabbage (about a medium head)
- just under 1 Tablespoon salt (sea salt)
- optional: juniper berries (make grandma proud), caraway seeds, celery seeds, kelp flakes, minced garlic, chili flakes
- A glass jar
- A smaller jar to fit inside
- A clean tea towel
- Rubber Band
Method
- Wash all of your equipment well with hot soapy water and let it dry while you prepare the cabbage.
- Peel the outer leaves of the cabbage off (you can save them for a liner for the weight).
- Cut the cabbage in quarters, remove the core (if you don’t want it) and chiffonade the cabbage as thin as possible.
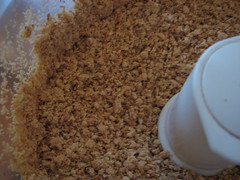
- Place the cabbage in a large bowl and toss with the salt. Allow to sit 15 minutes or until it starts getting juicy.
- Pack the cabbage into your jar (a medium head of cabbage fits nicely into a quart jar). I usually fill the jar half way and start tamping on it with a wooden spoon and adding more cabbage as I make more room. It’s surprising how much it compacts. You don’t want any air spaces and the goal is to have the cabbage completely covered by it’s own juices. If it’s not really juicy yet, let it sit 10 minutes then come back to it and tamp some more.
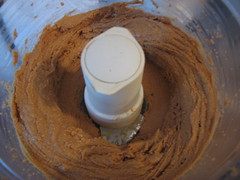
- Once it’s packed tight and the juice level is adequate, place the outer leaves or a clean plate or a clean small jar on top of the kraut (this keeps the cabbage submerged in the juice so it can do it’s fermentation anaerobically). Place a weight on top of this (I usually use a small jar filled with beans to weigh it down). Then, cover it with a towel and tie it on with a rubber band (or string). Improvise with what you have around.
- Put it in a cool, dry place and check on it every few days. If there’s mold, scrape it off, it won’t hurt you.
- Some people like it really sour, it prefer a slight crunch and tang. In summer that’s about 3 days and in the winter it might take a week. Once it tastes how you like it, I put a lid on the container and keep it in the fridge. Once it’s in the fridge it lasts a long time. I haven’t had a batch go bad on me in the fridge yet, so I’m not sure of the shelf life. Repack the kraut every time you take from it to keep it in the liquid.
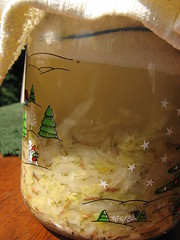
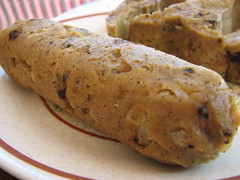
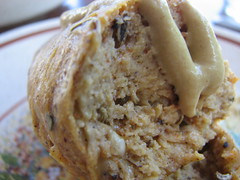
Fermenting a small batch
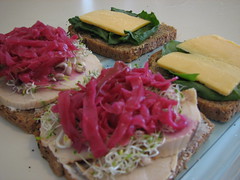
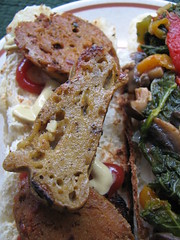
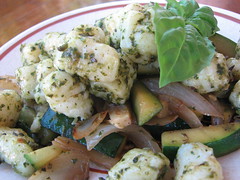
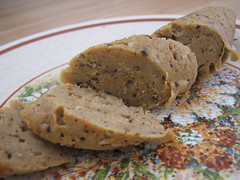
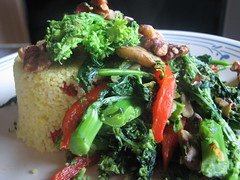
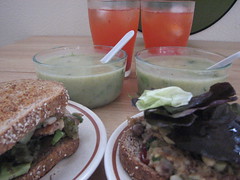
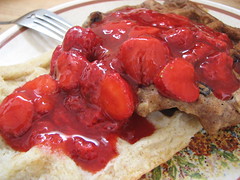
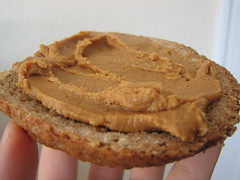
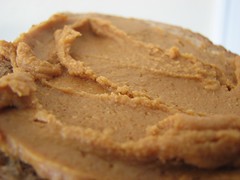
Great sandwich addition
You can really play around with added ingredients. I’ve heard of people adding grated beets, apples or brussel sprouts to the mix. You can add a lot of spiciness and make it akin to kimchi (which I made once and never again, it’s too hot for my taste). My current batch has kelp, caraway seeds and garlic in it. A classic is dill and juniper. I’d recommend starting off with 1 teaspoon and increasing spices to your desire. My current batch on the counter has 1/2 tsp black peppercorns, 1 tsp caraway seeds, 1/2 tsp celery seeds and 1 tsp kelp flakes. It should be interesting.